
We were excited about our new countertops, but I'll be honest: there was a lot of prep work. None of it is hard. But the more you do before the crew arrives, the smoother install day goes.
In post 2, I walked through measuring, the quote, the deposit, and templating. This post covers everything we did to get the kitchen ready, including something extra: because we were adding a full-height backsplash, we demoed the old tile ourselves.
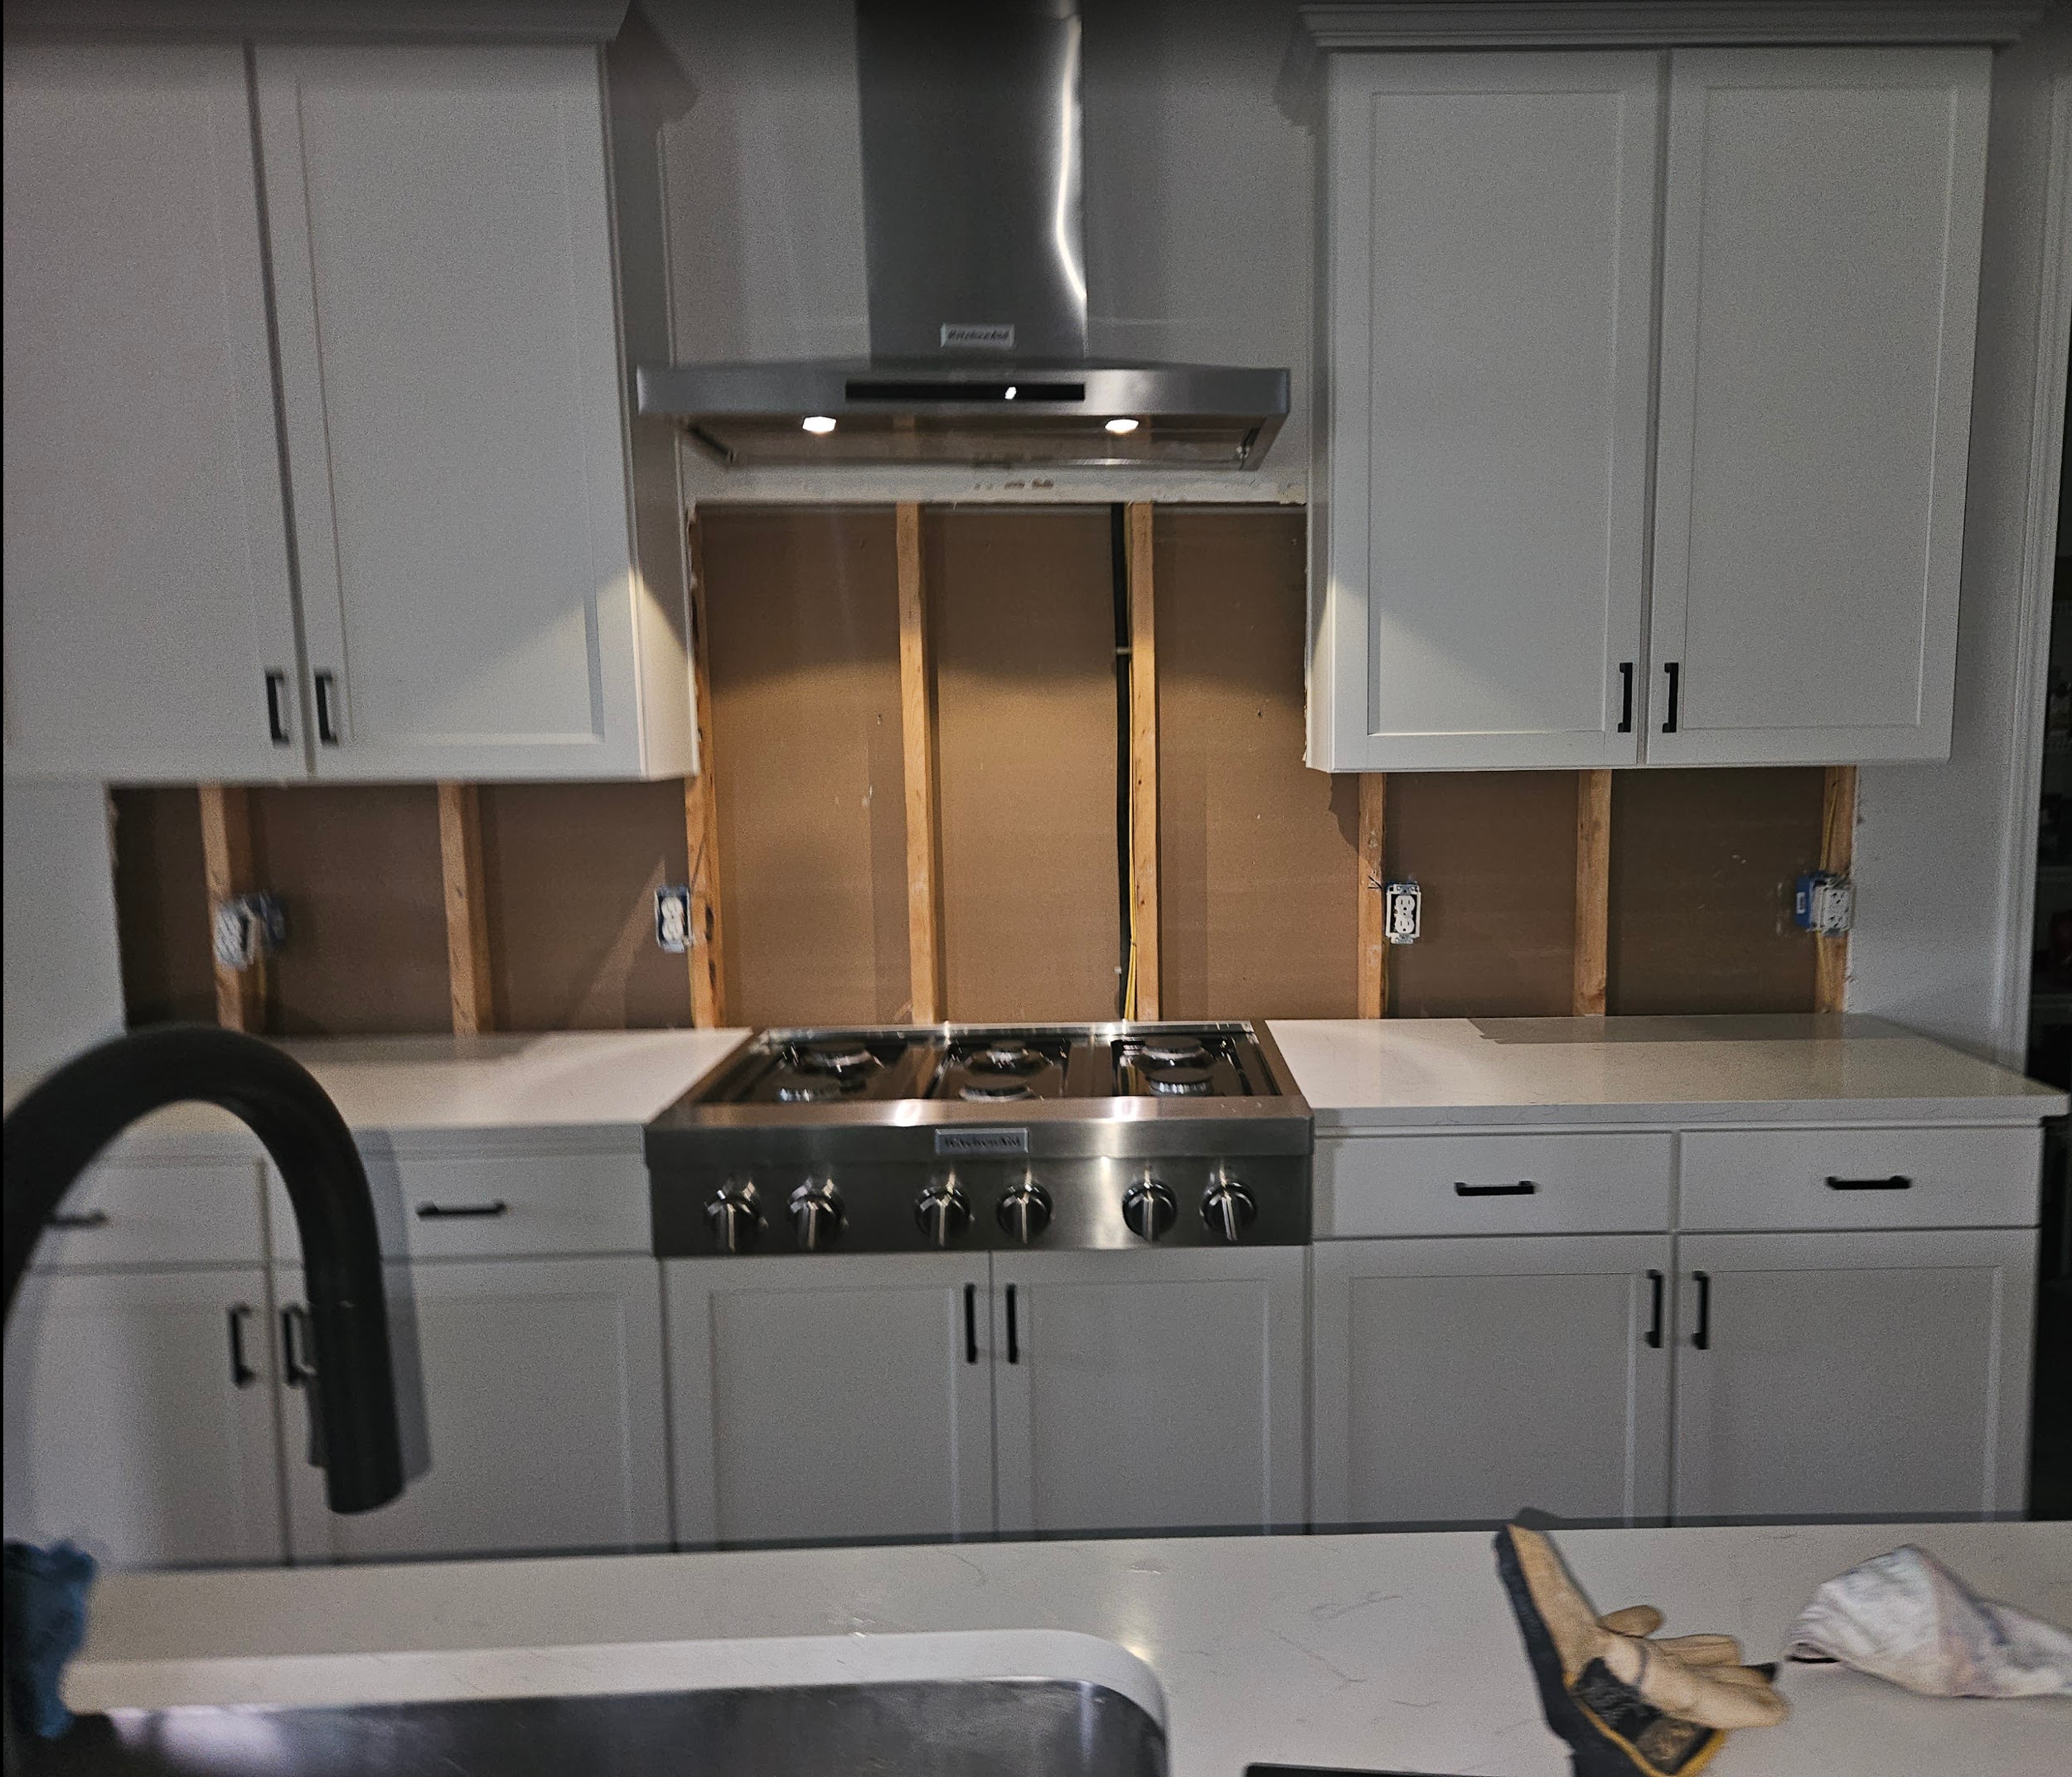
Step 1: Clear every counter, completely
The counters need to be totally clear. And I mean everything: glasses, dishes, spices, butter, the coffee maker, whatever lives on your counters. We made coffee early that morning, saved it in a ramekin (priorities), and moved everything off the tops of the counters before the crew got there.
Step 2: Empty the cabinets that need to be emptied
This part surprised me.
Under the sink: empty it completely. The old sink has to come out, even if you're keeping the same sink. The crew drops it down and detaches it from the old countertop, then remounts it once the new counter is in. They need room to work under there.
Drawers: The Precision Granite & Marble crew takes out the top drawer in the cabinets so they have hand-holds and the cabinets are out of the way. The team will remove cabinet drawers, the drawers are harder to keep clean, so expect some dust and debris to fall into the cabinets. If you'd like, cover the drawer openings with a cloth.
Push things back from the edge. Because we were installing a full-height backsplash, I slid all the spices, cups, and glassware as far back into the cabinets as they would go. If the cabinets shake during install, nothing falls out and breaks.
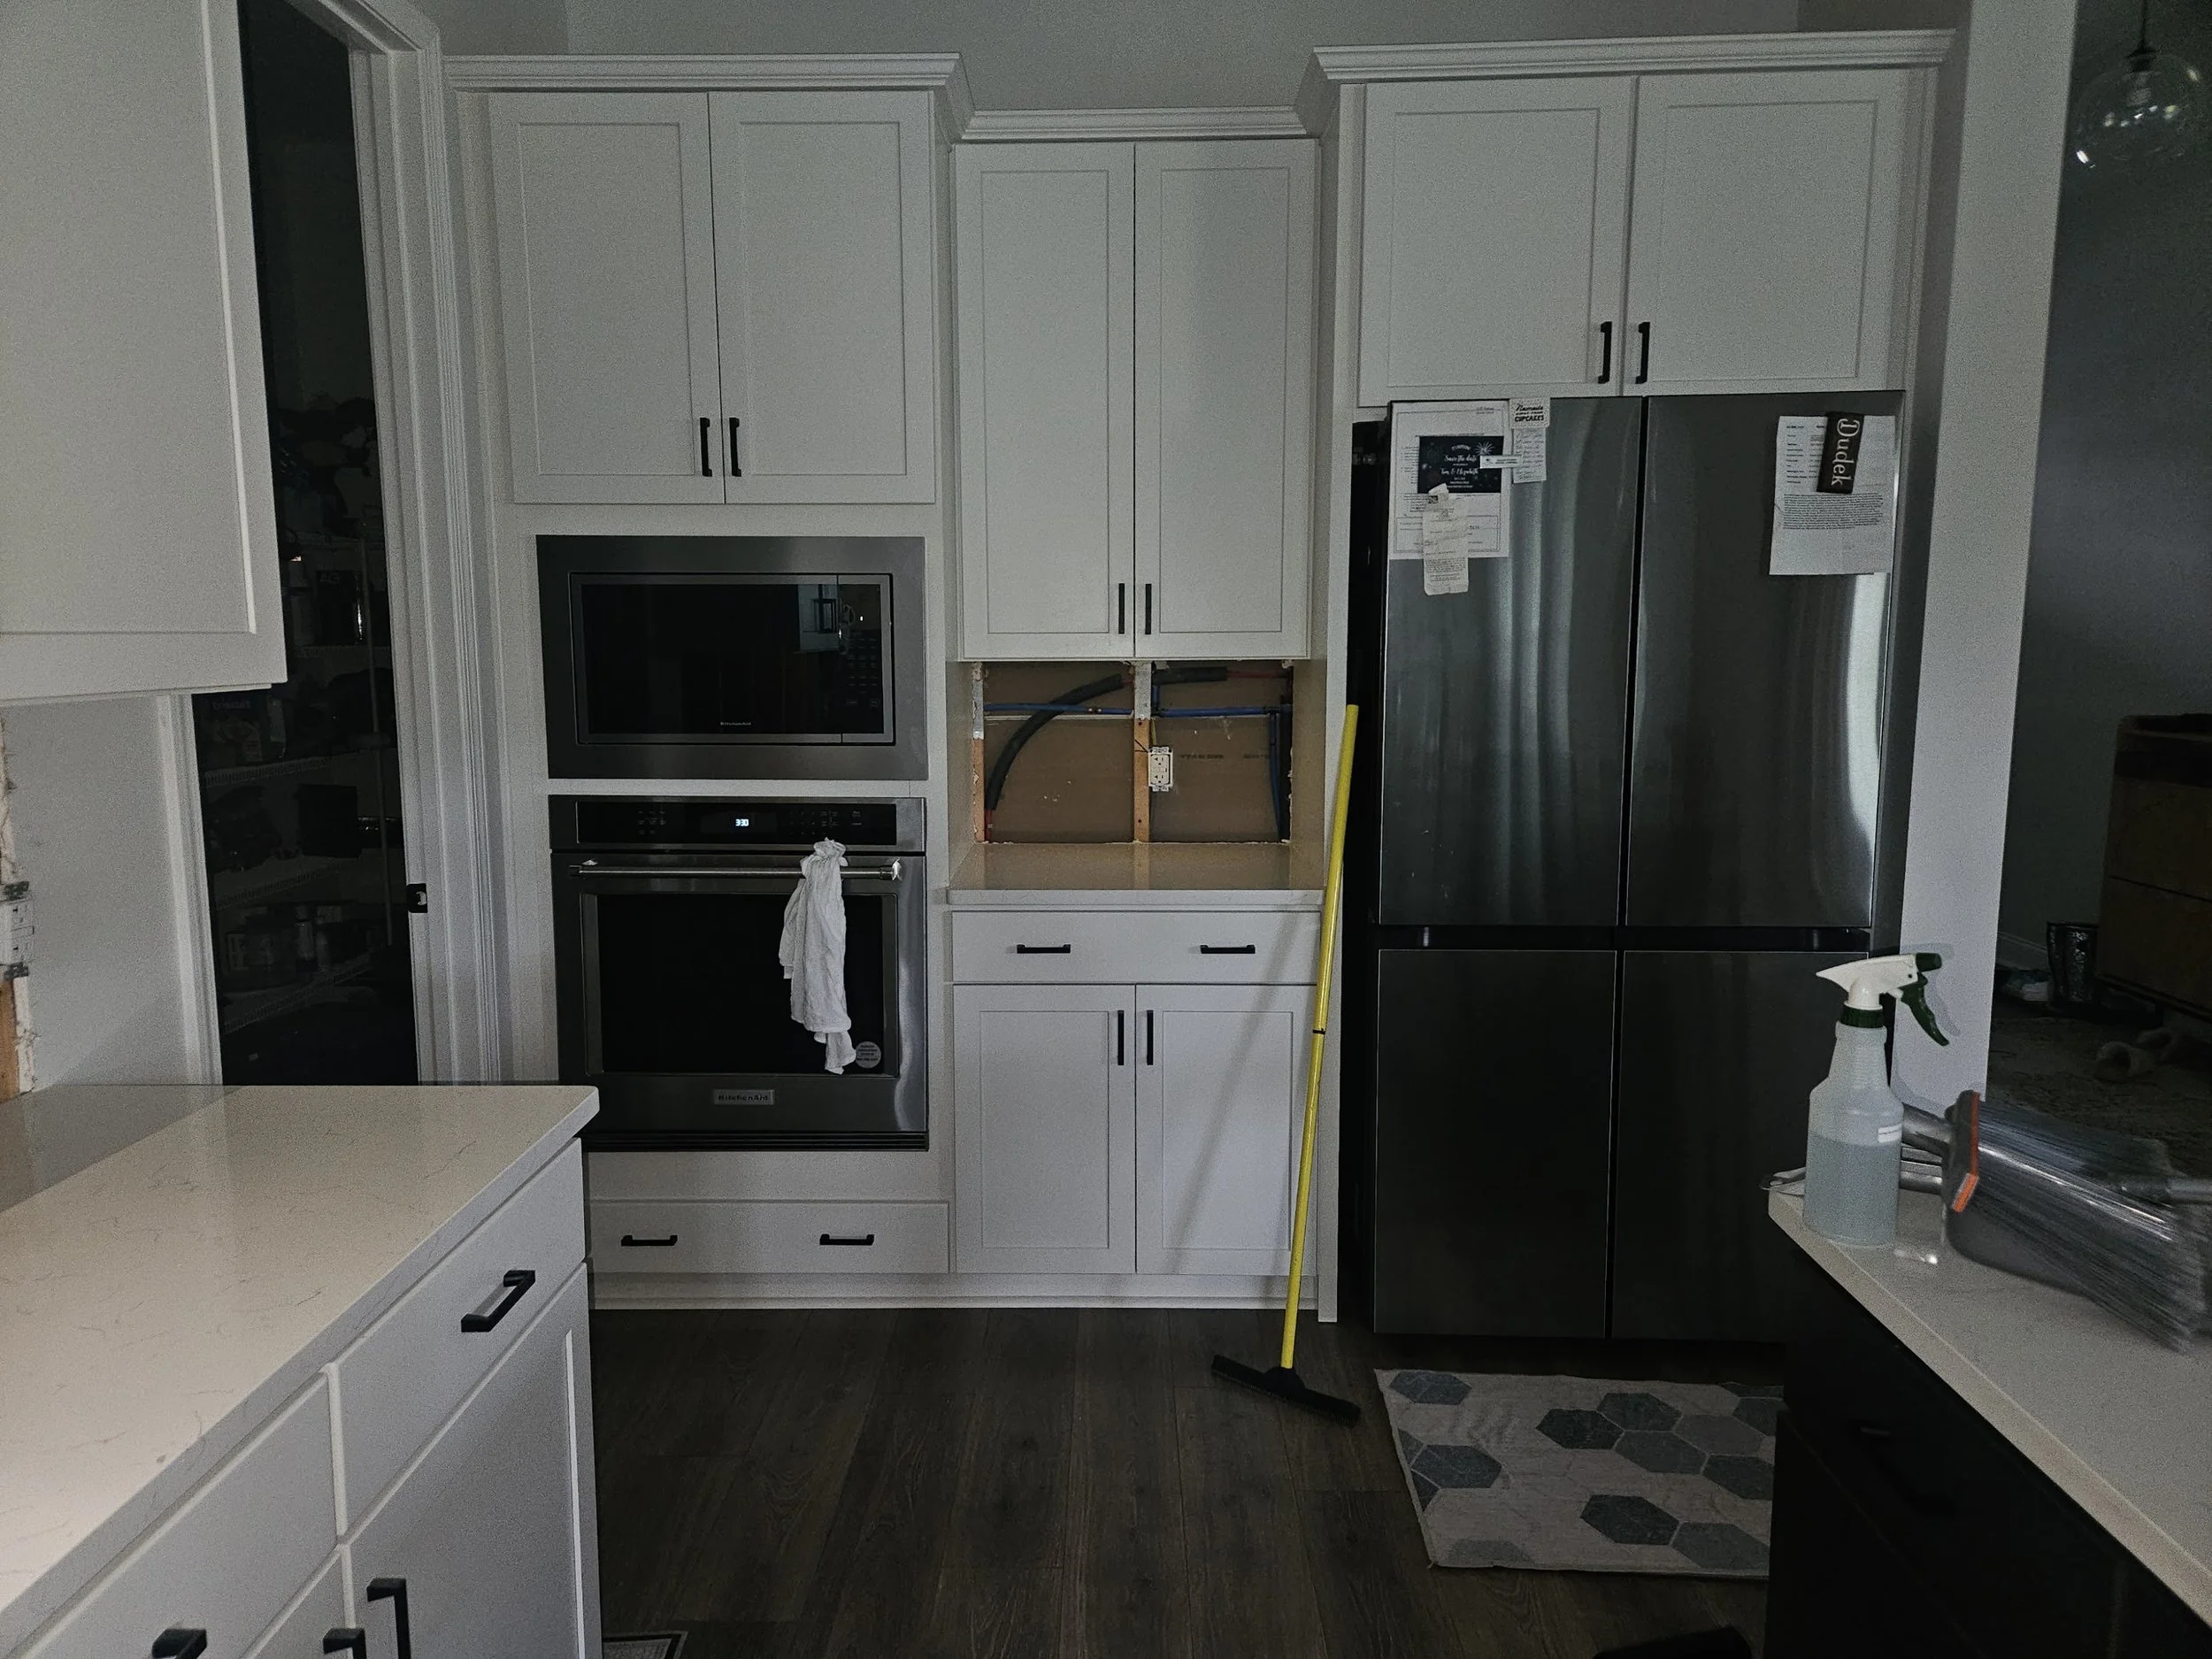
Step 3: Get ready for dust
Stone is cut on site, and sometimes that happens inside the home. There will be dust, and a bit of a mess. Cover your couches, tables, and dishes, and close the doors to any rooms you want to keep dust out of. I'd do this even if you think you don't need to.
Step 4: Decide who handles the gas and plumbing
PGMSA recommends having someone come in to reconnect your gas (for the stove) and your plumbing. PGMSA doesn’t connect plumbing or gas so make sure We're a DIY household, so we reconnected our own plumbing and installed our own garbage disposal. If you're not, have your plumber lined up for install day or the day after so you're not without a working sink for long.
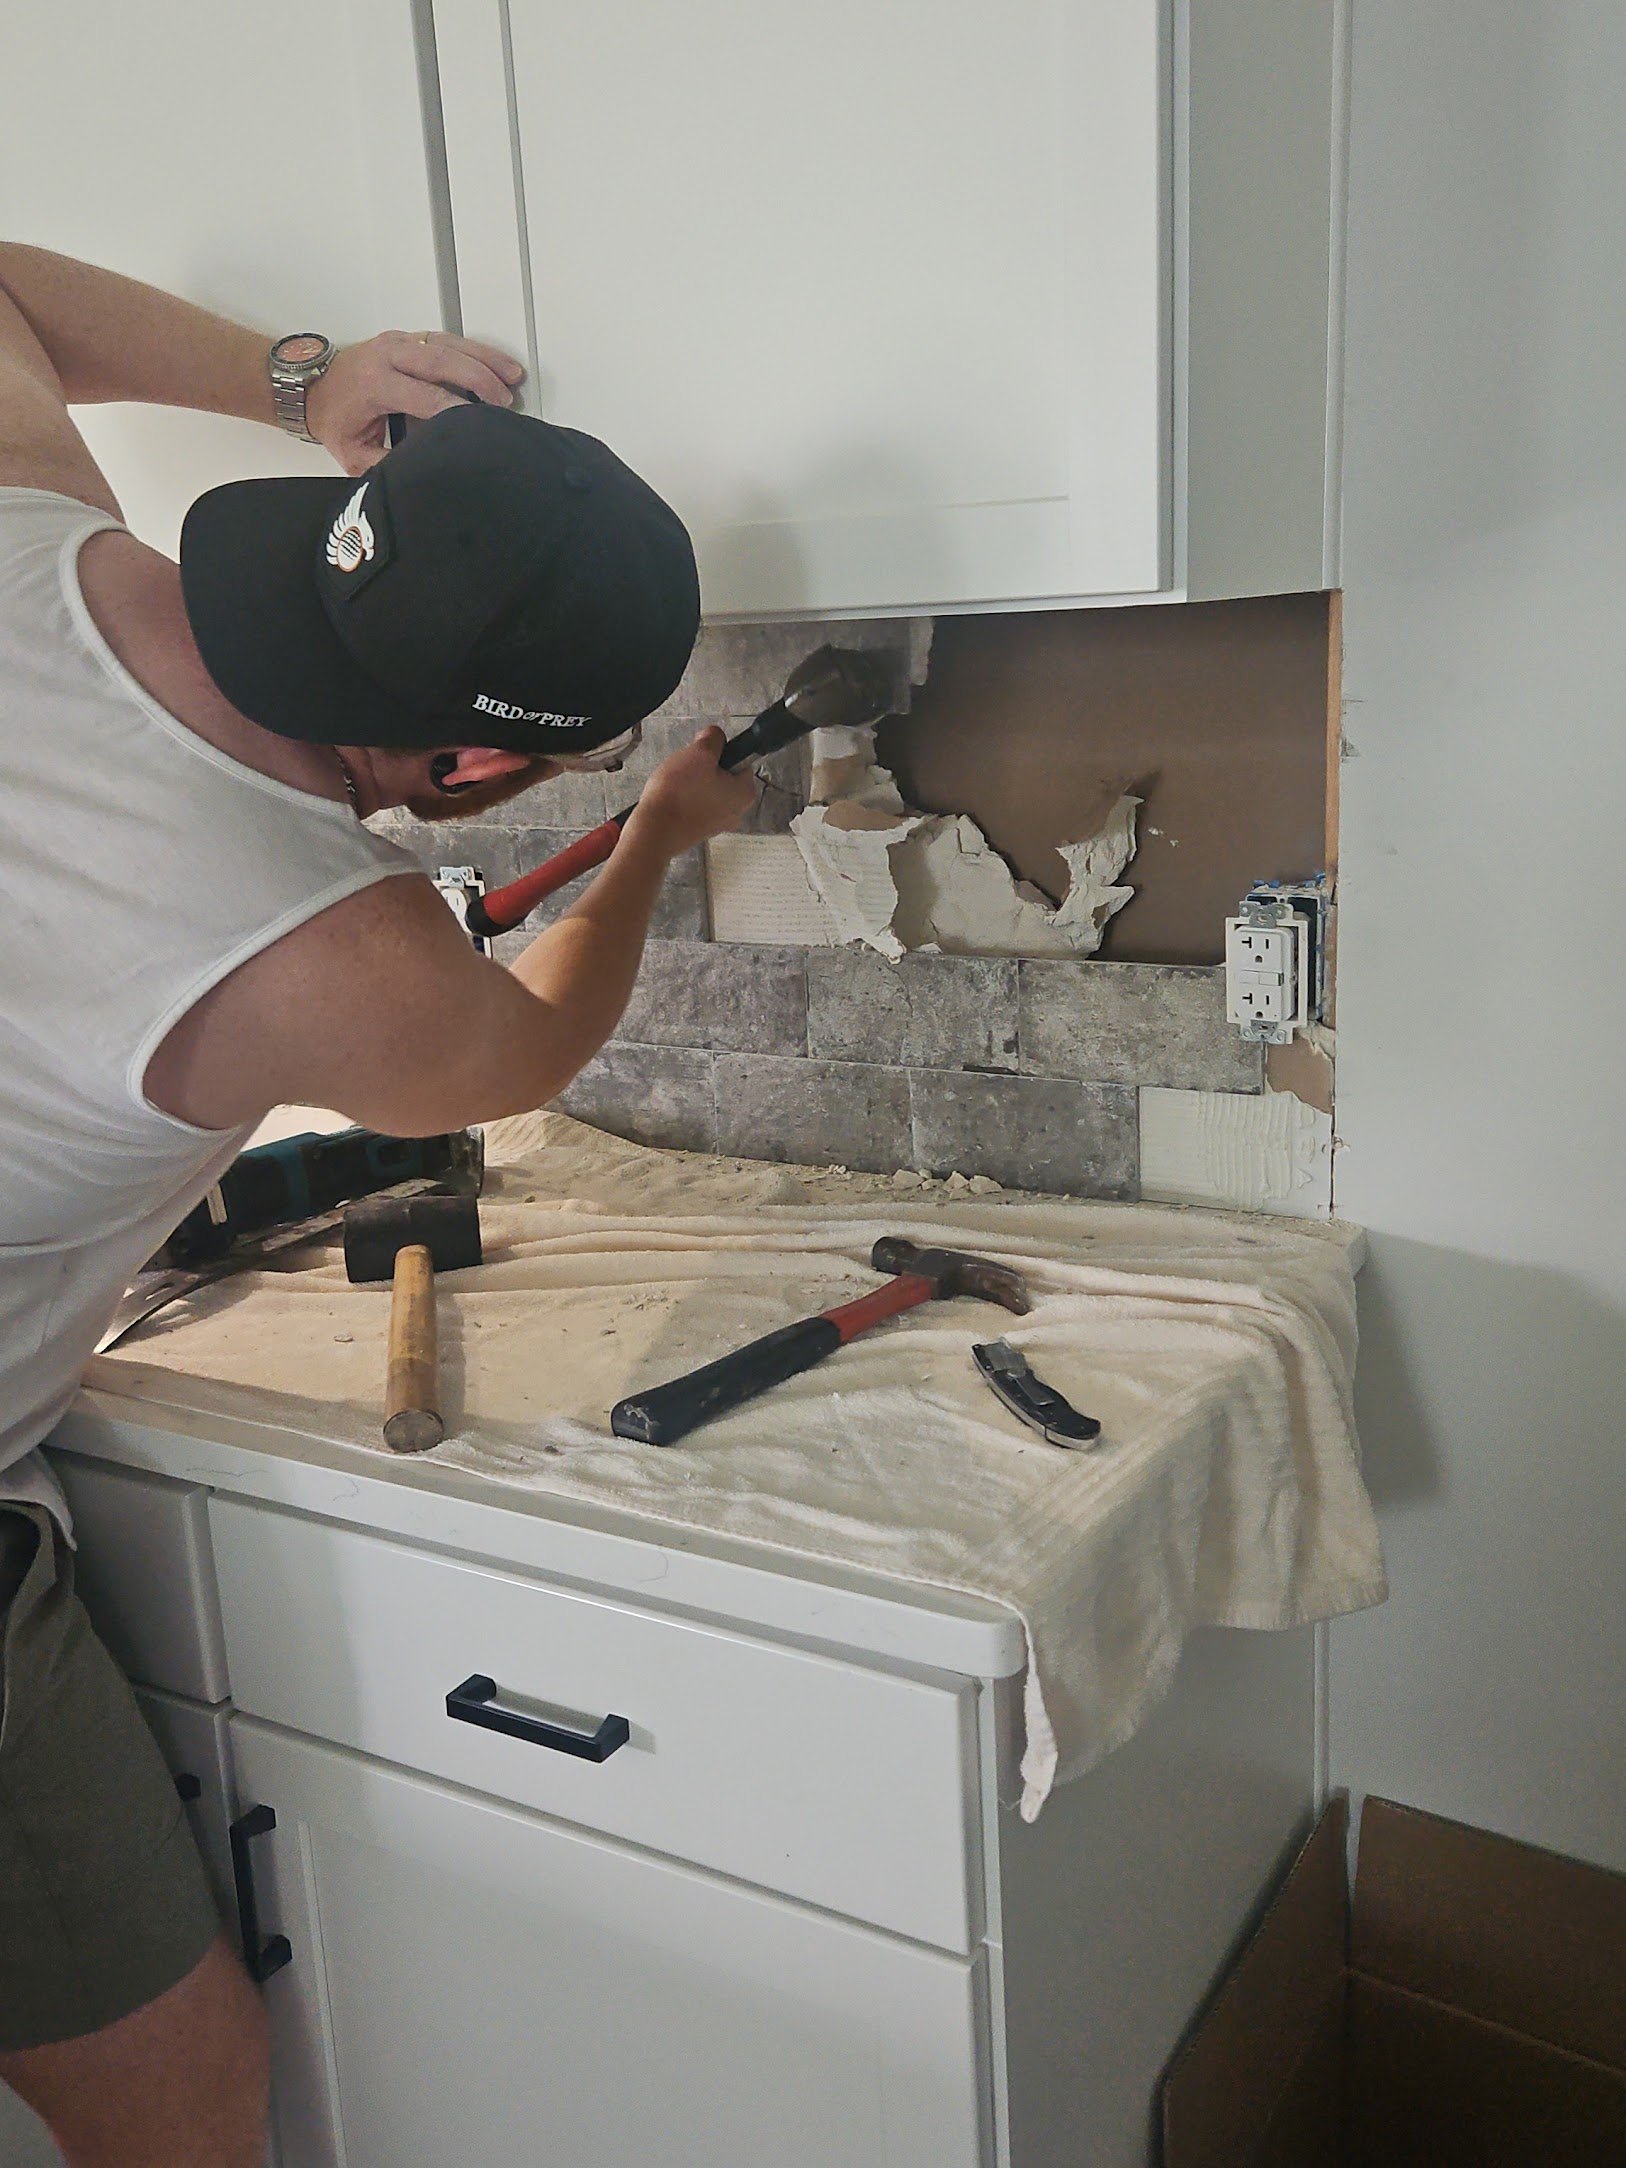
Bonus: How we demoed our own backsplash
A full-height backsplash means the old tile has to go first, and the drywall behind it comes out with it. We decided to do the demo ourselves. You can hire a handly man to do the work for you, however we had a small job so we decided to take it on ourselves. If you go this route, here's how it went for us, with the lessons learned.
A word of caution first: This is a DIY project, and I'm sharing what worked for us, not professional advice. Turn off the power at the breaker, wear safety glasses, gloves, and a mask, and if your home is older, make sure you know what's in your walls before you break anything. When in doubt, hire a pro.
What we did:
Shut off the power and remove the outlet and switch faceplates before doing anything else.
Cut the perimeter. We used an oscillating Makita tool to cut around the edge of the backsplash area so we'd get clean edges.
Break up the tile. We hoped to cut through the grout and remove the tile in neat sections, which is usually cleaner. Our grout lines were too tight, so we used a sledgehammer instead and pulled the tile out in pieces. We didn't need to save the tile or the drywall behind it.
Clean as we went. We worked in sections and used a shop vac as we broke things up, so debris didn't pile up.
Clean up the edges. We removed leftover screws and debris, then vacuumed and cleaned the edges of the counter and wall where the new backsplash would sit, so it fits snug and clean. This also saves the installers time.
Tips if you try it:
Cover your floors and counters. There's a lot of debris, and the tile is sharp.
Wear a mask. Drywall dust is no joke, especially if you're sensitive to it.
Plan for the trash. We got a debris container through Lowe's, and it was picked up later that week. Ours came to about 4 cubic feet, maybe a little less.
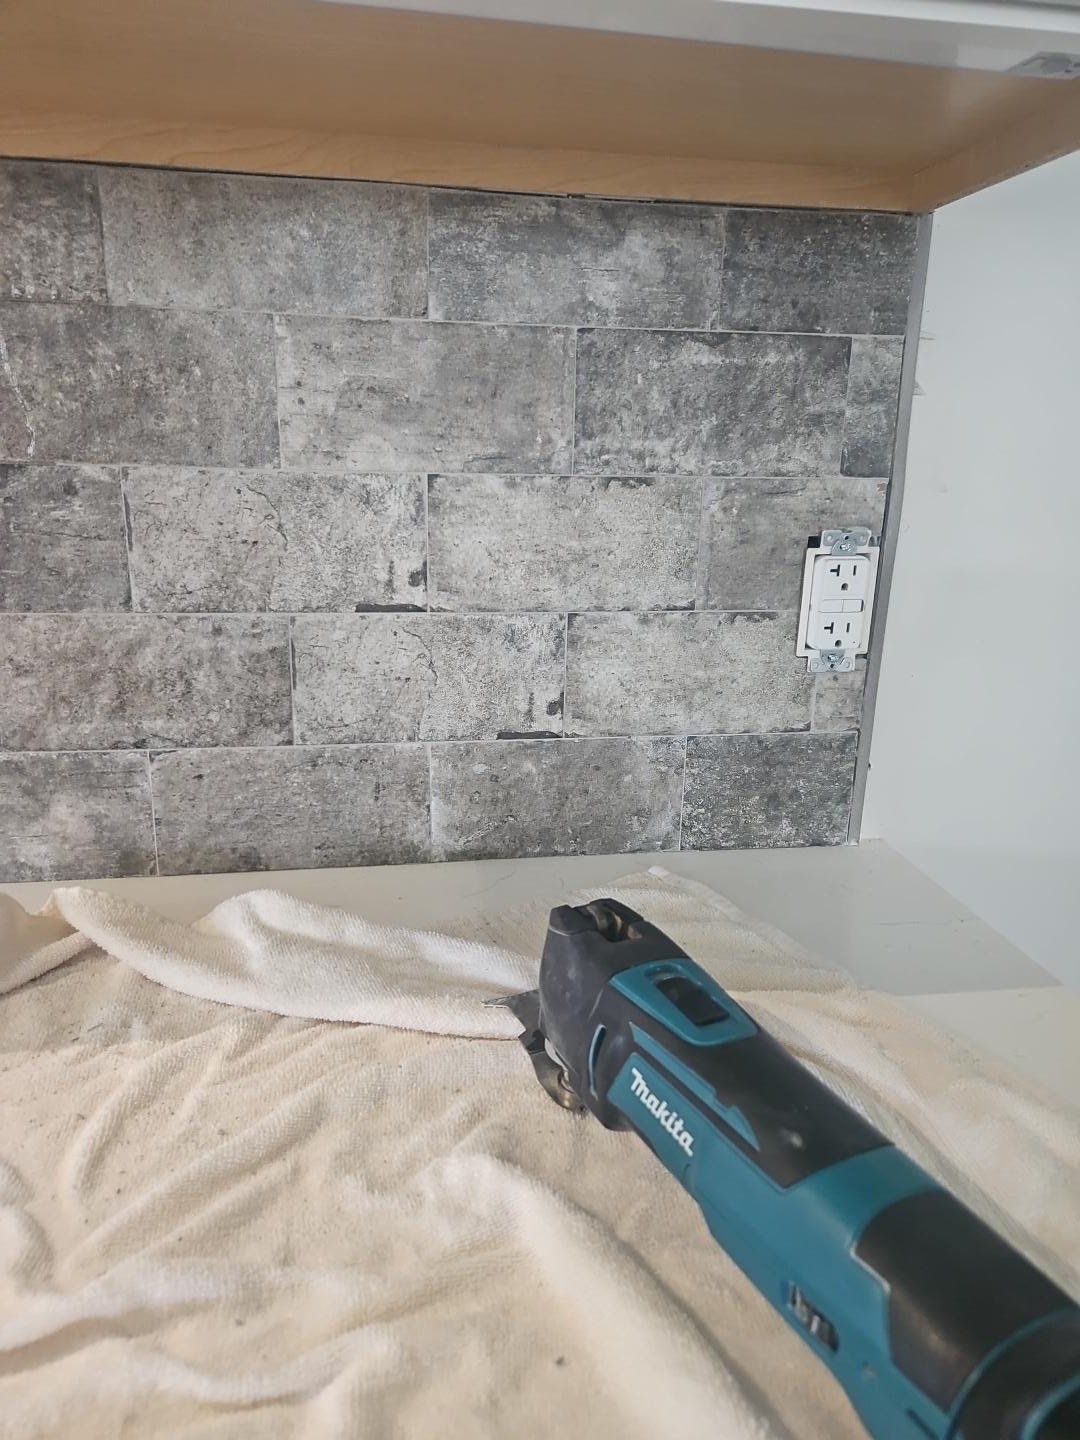
My prep checklist
Clear every counter completely.
Empty under the sink.
Push cabinet items to the back, away from the wall.
Cover furniture and close doors to keep out dust.
Line up a plumber (and gas, if you have a gas stove) for install day or the day after.
If doing a full-height backsplash, demo the old tile and drywall, and clean up the edges.
Be home and ready to receive the crew.
Next up
In post 4, I'll walk through install day itself, from the call ahead of time to the final walkthrough, including the outlet that had to move.
Thinking about your own kitchen? Precision Granite & Marble is a Cambria Premier Partner serving Bluffton, Hilton Head, Sun City, and Okatie. Walk-ins are welcome at 11 Parmenter Rd, Bluffton, or call (843) 247-1935 to book a free design consultation.
